So, you've got a shiny new Steam Deck and you're itching to play your Ubisoft games? Fantastic! But before you dive into those virtual worlds, you'll need to install Ubisoft Connect. This guide provides a straightforward, step-by-step process, complete with troubleshooting tips to help you conquer any hurdles along the way.
Getting Started: Download & Preparation
First, download the Ubisoft Connect installer from the official Ubisoft website. Save it to a readily accessible location on your Steam Deck, such as the "Downloads" folder. This is the foundation; getting the right installer is crucial.
Adding Ubisoft Connect to Your Steam Library
- Launch Steam on your Steam Deck.
- Locate and select the "Add a Non-Steam Game to My Library" option. It's usually clearly visible.
- Navigate to where you saved the Ubisoft Connect installer.
- Select the installer and click "Add Selected Programs." Success! You've added it to your library.
This is a quick and painless step; adding to your library is essential for Steam Deck organization.
Harnessing the Power of Proton: Enabling Compatibility
The Steam Deck runs on Linux, while Ubisoft Connect is designed for Windows. This is where Proton comes in—a compatibility layer that acts as a translator, allowing Windows applications to run on your Steam Deck.
- Right-click Ubisoft Connect in your Steam library.
- Select "Properties."
- Click on the "Compatibility" tab.
- Enable Proton. The "latest stable" version is generally recommended as a starting point. Experiment with other versions if needed (see the "Proton Versions" section below).
Proton is your secret weapon; it ensures compatibility between different operating systems.
Optimizing Installation: Choosing Your Path
For better organization, create a dedicated folder for your Ubisoft games. This is a best practice; keeping things tidy enhances performance and reduces confusion.
- Navigate your Steam Deck's file system and create a new folder (e.g., "Ubisoft Games").
- Return to the Ubisoft Connect "Properties" window.
- Go to the "Launch Options" tab.
- Specify the installation path for Ubisoft Connect. This will typically look something like
/home/deck/.local/share/Steam/steamapps/compatdata/XXX/pfx/drive_c/Program Files (x86)/Ubisoft/Ubisoft Game Launcher. The "XXX" is a unique ID; use the "Browse" button to locate the correct path within the Steam Deck's file system.
Choosing an installation path is all about organization, streamlining future access to your games.
Troubleshooting: Addressing Common Issues
Even with careful preparation, the occasional hitch can arise. Here are some solutions for common problems:
"Connection Lost" error: This is frequently caused by network settings. Verify your Steam Deck's internet connection, ensure the date and time are correct, and restart your Deck. Simple solutions are often the most effective. See the "How to Fix Ubisoft Connect Connection Lost Error on Steam Deck" section for more robust troubleshooting steps.
Performance Issues: Experiment with different Proton versions; better performance can be achieved with specific Proton releases.
Launching Ubisoft Connect
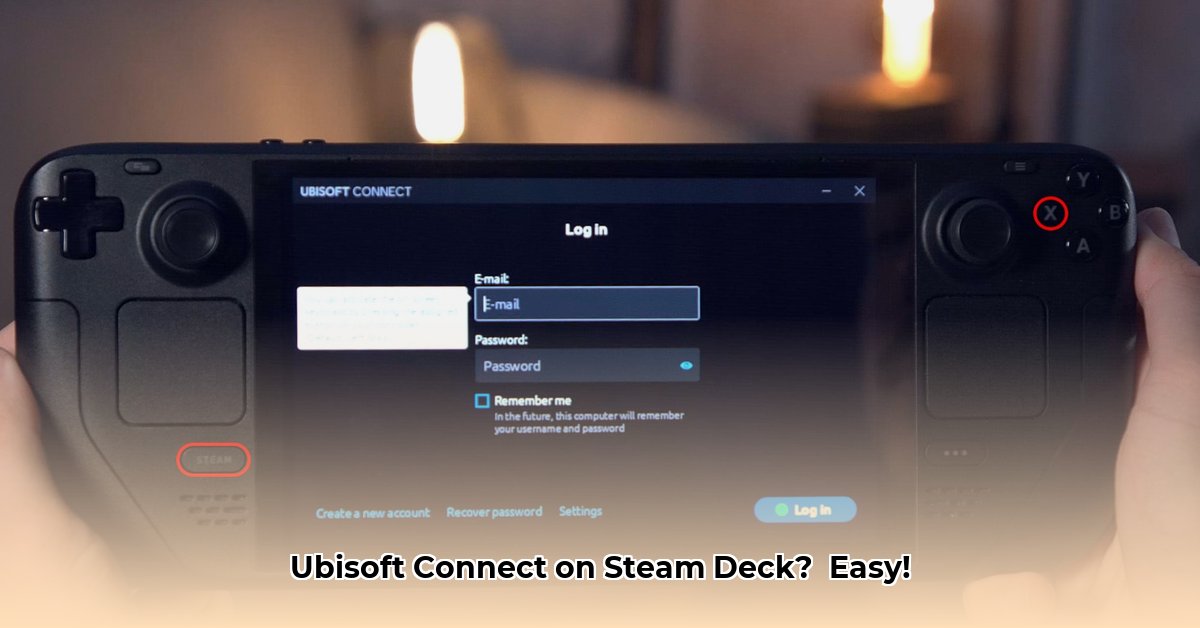
After installation, launch Ubisoft Connect from your Steam library. Sign in, browse your games, and start playing! If performance issues persist, further adjustment of Proton settings might be necessary.
Proton Versions: A Quick Comparison
Successfully launching a game sometimes hinges on the choice of Proton version.
| Proton Version | Stability | Performance | Notes |
|---|---|---|---|
| GE-Proton7-48 (or similar) | Generally High | Usually Good | Often recommended for better compatibility |
| Experimental | Varies | Varies | Use cautiously; might be unstable |
| Latest Stable | High | Generally Good | A good starting point; usually the safest option |
Remember: Choosing the right Proton version is crucial for optimal performance.
How to Fix Ubisoft Connect Connection Lost Error on Steam Deck
The dreaded "Connection Lost" error? A common frustration. Adjusting the Maximum Transmission Unit (MTU) setting often resolves it. This solution, while not permanent, is a quick and effective workaround.
- Enter Desktop Mode: Access via the Quick Access menu (Steam button).
- Open Network Settings: Locate your network settings (likely a Network Manager icon).
- Find MTU Setting: Within your network settings, access the advanced settings to locate the "MTU" field.
- Adjust MTU: Change its value to 1452 (or experiment with values between 1400-1500).
- Apply & Test: Save changes and restart your Steam Deck or the Steam client and Ubisoft Connect.
If the problem still occurs, try restarting your router, ensuring a stable connection, checking Ubisoft servers, or reinstalling Ubisoft Connect. The MTU adjustment serves as a temporary fix.
This guide provides a comprehensive walkthrough, empowering you to successfully install and use Ubisoft Connect on your Steam Deck. Happy gaming!
⭐⭐⭐⭐☆ (4.8)
Download via Link 1
Download via Link 2
Last updated: Friday, May 02, 2025